The Tello drone, developed by Ryze with the support of DJI, has caused quite a stir in the drone world: The low price of the beginner drone combined with a long expected flight time of 13 minutes makes it sound tempting. The camera also impresses and is well suited for great aerial shots. In this test we take a close look at the Ryze Tello, explain the configuration and calibration and show shots made with the mini quadrocopter.
Ryze or DJI?
To bring some clarity into the confusion that some might have when reading the product name: The Tello is a drone developed by a start-up called “Ryze Technology” based in Shenzhen, China. The drone contains a flight control system made by DJI (“DJI Flight Tech”) and an Intel processor. That’s why the name of the drone also includes the renowned drone company.
Technical Data and Features of the Tello
Here is a list of the most important features that come with Ryze Tello:
- Flight time of 13 minutes
- Photo quality: 5 MP
- Video quality: HD 720p
- Weight: 80 grams/0.176 lbs
- Transmission range of the image: 100 m/328 ft
- Electronic image stabilization for sharp photos
- Control via free Tello app (for smartphones or tablets)
- Compatible with a controller to control the drone even more safely
- Compatible with a VR headset for an immersive flight experience
- Programmable with the Tello SDK
- Various flight modes
Box contents of the Tello
Included in the box:
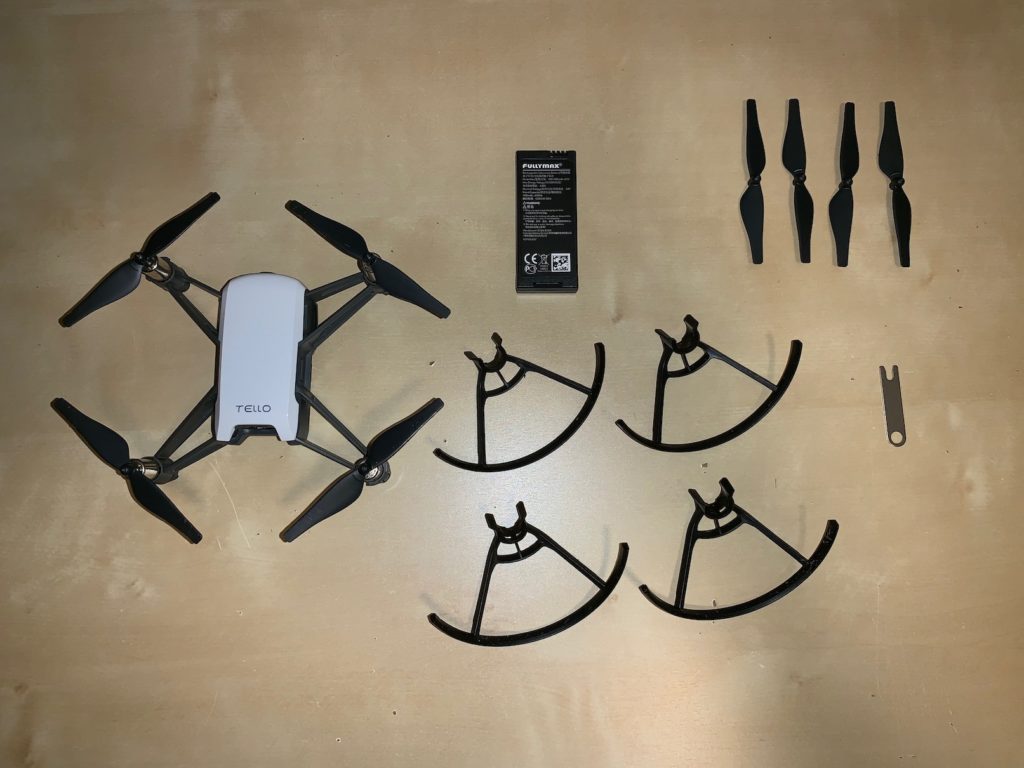
- The drone
- 4x propellers (2 sets, one replacement set)
- 4x propeller protector (to cushion shocks)
- Battery
- Propeller removal device
- Manual
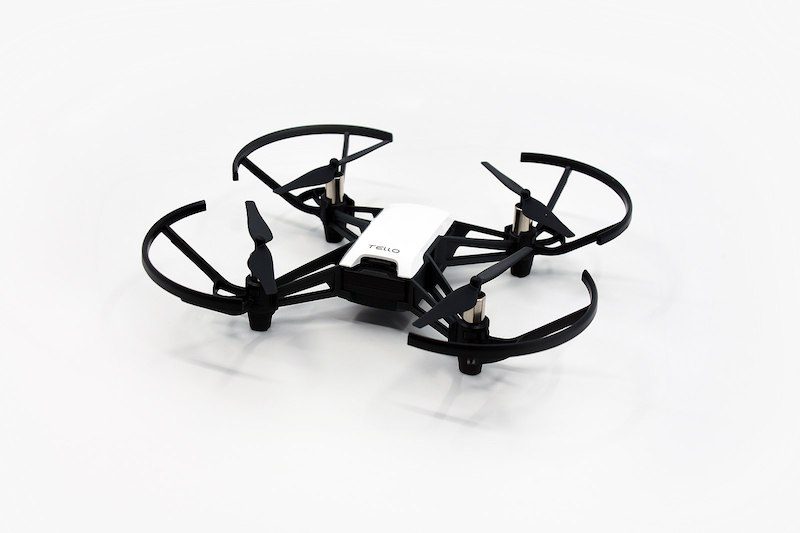
First Impression
DJI would hardly have printed his name on the original packaging if it wasn’t completely convinced of the product. And we also say: The design is something to be proud of. The drone looks very high-quality and light when touched. It has a minimalist design and the white/grey color scheme looks very chic. If you don’t like the simple, white cover of the drone, you can buy stickers that are perfectly cut to the tello and individualize the design.
Check out or purchase “tello stickers” by Clicking Here
The battery can be recharged by placing it in the drone and connecting it to a power source with a USB adapter using a micro-USB cable that is not included.
The motors are brushed motors.
Further Components of the Drone
The propeller protectors can be removed with a quick movement of the hand. In order to ensure a safe flight, these should be left attached to the drone. For example, if you hit the ceiling of a room from below, the propeller guards will protect your drone because they are slightly higher than the rotor blades of the Tello. The propeller guards also do a great job in the event of shocks from the side. We’ve also accidentally steered the drone into trees or bushes before. In this case the propellers stop turning immediately and you can get the drone back undamaged. Because of these good protection mechanisms, the drone is well suited for beginners.
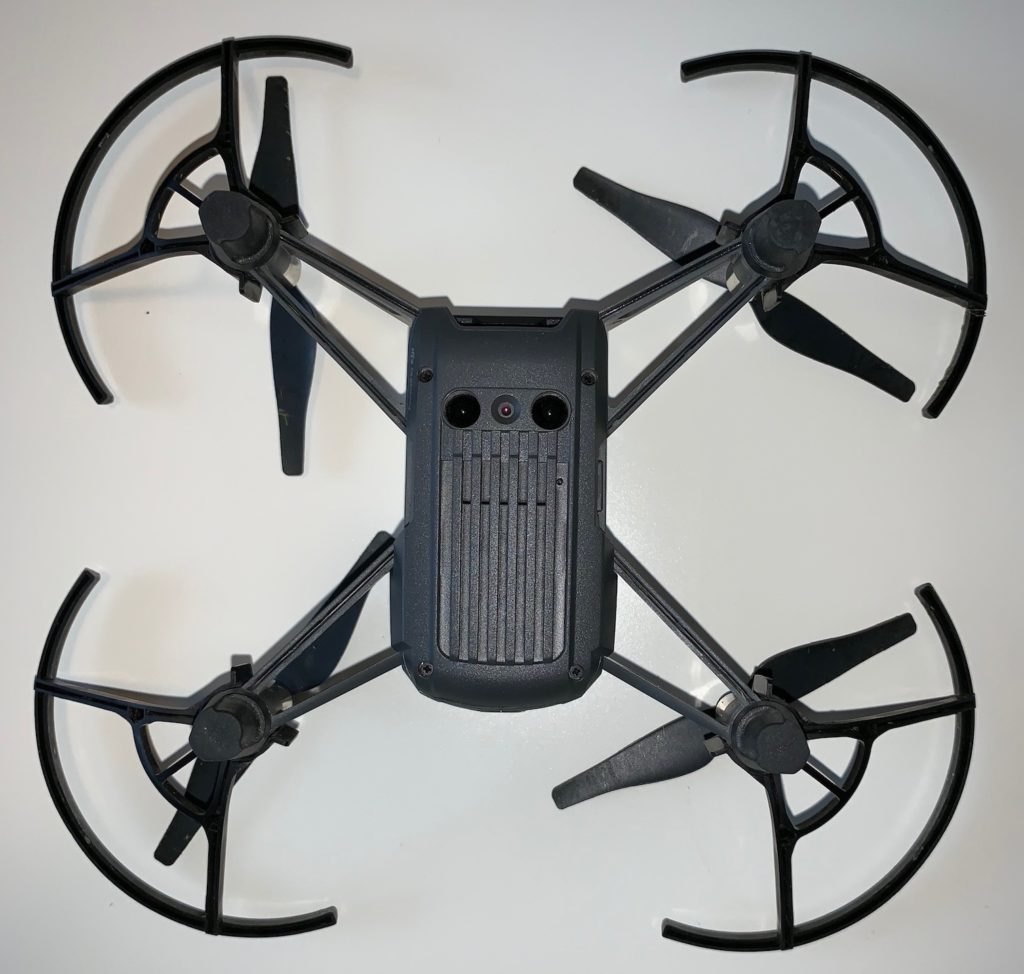
Vision Positioning System (VPS)
The bottom of the Tello drone contains the Vision Positioning System (VPS). The VPS consists of a camera and an infrared sensor. Both serve to stabilize the drone in order to hold a certain position when moved to it. The Tello’s VPS technology can also be easily understood if, for example, you fly a few meters over the sea and move the drone to a certain position. The waves in the water below the drone move towards the beach. Since the Tello’s VPS recognizes the waves as ground, the Tello automatically moves towards the beach.
Preparing the Tello for Flying
The supplied battery had a charging status of about 40% on delivery. This is sufficient for a short test flight, but if you want to enjoy your first flight with the Ryze Tello, you should fully charge the drone. Experience shows that charging a battery only takes about 45 to 60 minutes. The manufacturer’s specification is 90 minutes. A flashing blue light on the drone indicates that the battery is not fully charged. If the light stops flashing and shows a continuous blue colour, the battery is fully charged and you are ready to go.
Before your first flight you should of course also download the Tello-App, which is available in all common App Stores. This app is used to control the entry-level drone. The app can also be used to calibrate the drone to ensure a safe and stable flight and to update the firmware.
Calibrating the Tello
Calibration can be done in the Tello app via the gearwheel at the top left -> “More” -> “…” -> “IMU status” -> “Calibrate”. IMU stands for Inertial Measurement Unit and is important for acceleration measurement and the built-in gyroscope. One reason for this function is that the Ryze Tello should remain stable in the air and keep its position after acceleration.
The illustrated instructions in the app can be a bit confusing at first. IMU calibration of the Tello should be done exactly as shown in the app. This means that the propellers and its guards have to be removed with the supplied small tool. This ensures that the drone does not lie misaligned during calibration. Then place the drone in the different ways shown in the manual.
The next step is to connect the mobile device on which the Tello app is running to the switched-on drone. The connection is made via WiFi. All the steps for connecting are explained in detail in the app.
One last tip: In order to get great photos during the first flight, you should set the default photo quality from “Normal” to “High”.
Takeoff!
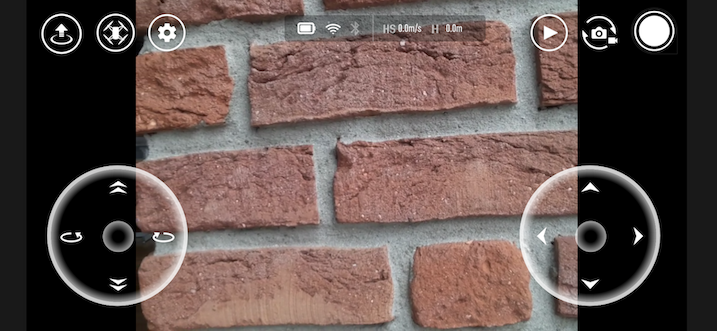
Without an external controller you control the Tello with the joysticks in the app. With the left joystick you can fly up/down and turn left/right. With the right stick you can fly forward, backward, right and left. At the top left is the take-off button, which, being in the air, transforms into a landing button that performs a soft landing when pressed.
Flight Modes and Stunts
With the second button from the left you can select the flight modes and tricks that the Tello drone is capable of. This way you can have even more fun and take great pictures:
- Eight different flips: You swipe your finger across the screen in the desired way and the drone will perform that stunt.
- Throw & Go: You throw the drone from your hand into the air to make it float at a certain point.
- Up & Away: The drone flies upwards to shoot a short video in which the camera moves away from the target.
- 360 degrees: The Tello drone rotates 360 degrees once to capture an entire panorama as a video.
- Circles: The Ryze Tello can also fly in circles and record a video.
- Bounce: The Tello bounces up and down between 0.5 and 1.2 meters.
During the flight it is possible to switch between the flying modes “normal” and “fast”, also known as “video mode” or “sports mode”. The normal mode of the Tello is good for taking photos and videos while the fast mode is good for having fun flying and moving quickly from one place to another or overcoming differences in altitude.
If problems occur during the flight, error messages will appear at the bottom of the screen. You should pay special attention to the message “Ambient light too weak” or “VPS unavailable, land as soon as possible”: It is essential for a smooth flight that there is enough light in the flight environment so that the Vision Positiong System, the optical position detection system of the Tello, can identify the ground and float continuously at the same position.
Coding with Tello
Using the Tello SDK, programmers can work with the Tello and develop their own scripts that the drone then executes.
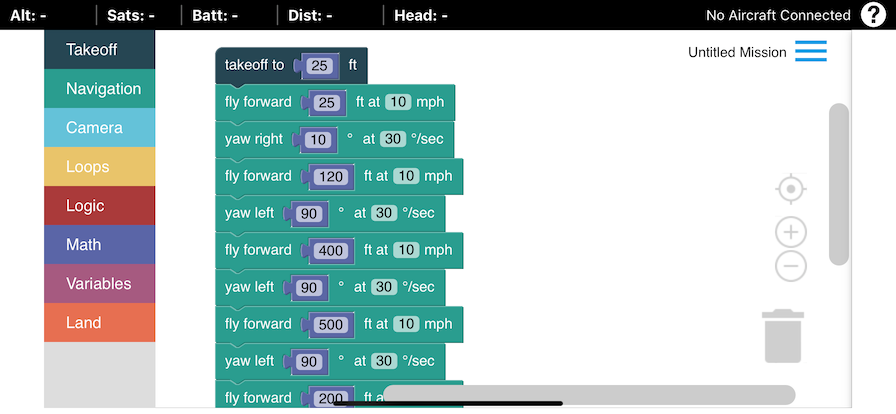
For drone pilots who have no programming experience, the DroneBlocks app (for iOS and Android) is a great tool for arranging code blocks that perform certain actions and do not need to be coded.
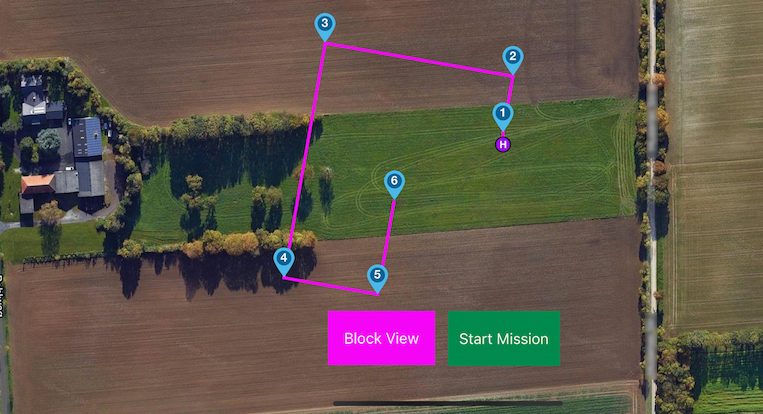
Particularly interesting: In the DroneBlocks app there is a menu item called “Preview Mission”. Here you get a satellite map, on which the flight route programmed in blocks is recorded. To set a departure location for the Tello’s flight route, press a specific point on the map for about a second. In this way you can also change the point of departure for the flight route of the beginner drone so that you can fly at different locations.
The app is available free of charge and increases the fun factor of the Tello many times over.
How long and how high does the Tello fly?
As mentioned at the beginning, the flight time is 13 minutes according to the manufacturer. We can confirm this information. The 13 minutes the Tello withstands not only continuous floating on a spot but also active flying. Since the charging is also very fast (45 to 60 minutes according to our experience), the fun continues quickly after having an empty battery.
Alternatively, you can also buy one or more replacement batteries. These are also available in combination with a charging station so that the batteries do not have to be inserted one after the other into the drone.
To check out or purchase “Tello Batteries” Click Here
The Tello’s maximum flight altitude used to be limited to 10 meters. Meanwhile the limit in the official app can be increased to 30 meters. There are third-party apps that can set the flight altitude limit to up to 100 meters. It should be noted that the drone is no longer easily controllable at such an altitude. We have already flown the Tello 30 meters high and it worked well.
Is it Okay to Fly the Tello Outside (Crashes, Wind)?
The inexpensive entry-level drone has flown with us as pilots against walls, into trees, bushes and into the grass many times before and has survived all these crashes undamaged. Until now, none of the supplied replacement propellers had to be used. The engines switch off automatically if the drone flies into a tree and the propellers get caught in a branch. This allows the drone to be retrieved safely after a crash. If you can’t find the drone right away, you can take a look at the mobile device running the control app to see the current perspective of the drone and the crash location.
In light to medium winds you can fly the Tello well, in strong gusts of wind it happens more often that the drone goes off course and you have to counter-steer strongly.
Tello Footage, Picture and Video Quality
With the entry-level drone you can shoot really great photos for a reasonable price. Thanks to the built-in image stabilisation, the pictures are sharp even during wild flights and wind.
The videos look good too. Here are examples of other drone pilots who uploaded Tello footage:
Conclusion
The Ryze Tello is the perfect drone for beginners. Even experienced drone pilots, who are looking for an additional “small” drone, but with which you can have a lot of fun, get their money’s worth. The Tello is also suitable for pilots who enjoy programming.